License: 612 KA-5
Services We Offer:
Not Yet Offered:
Phoenix Pool Builders & Contractors
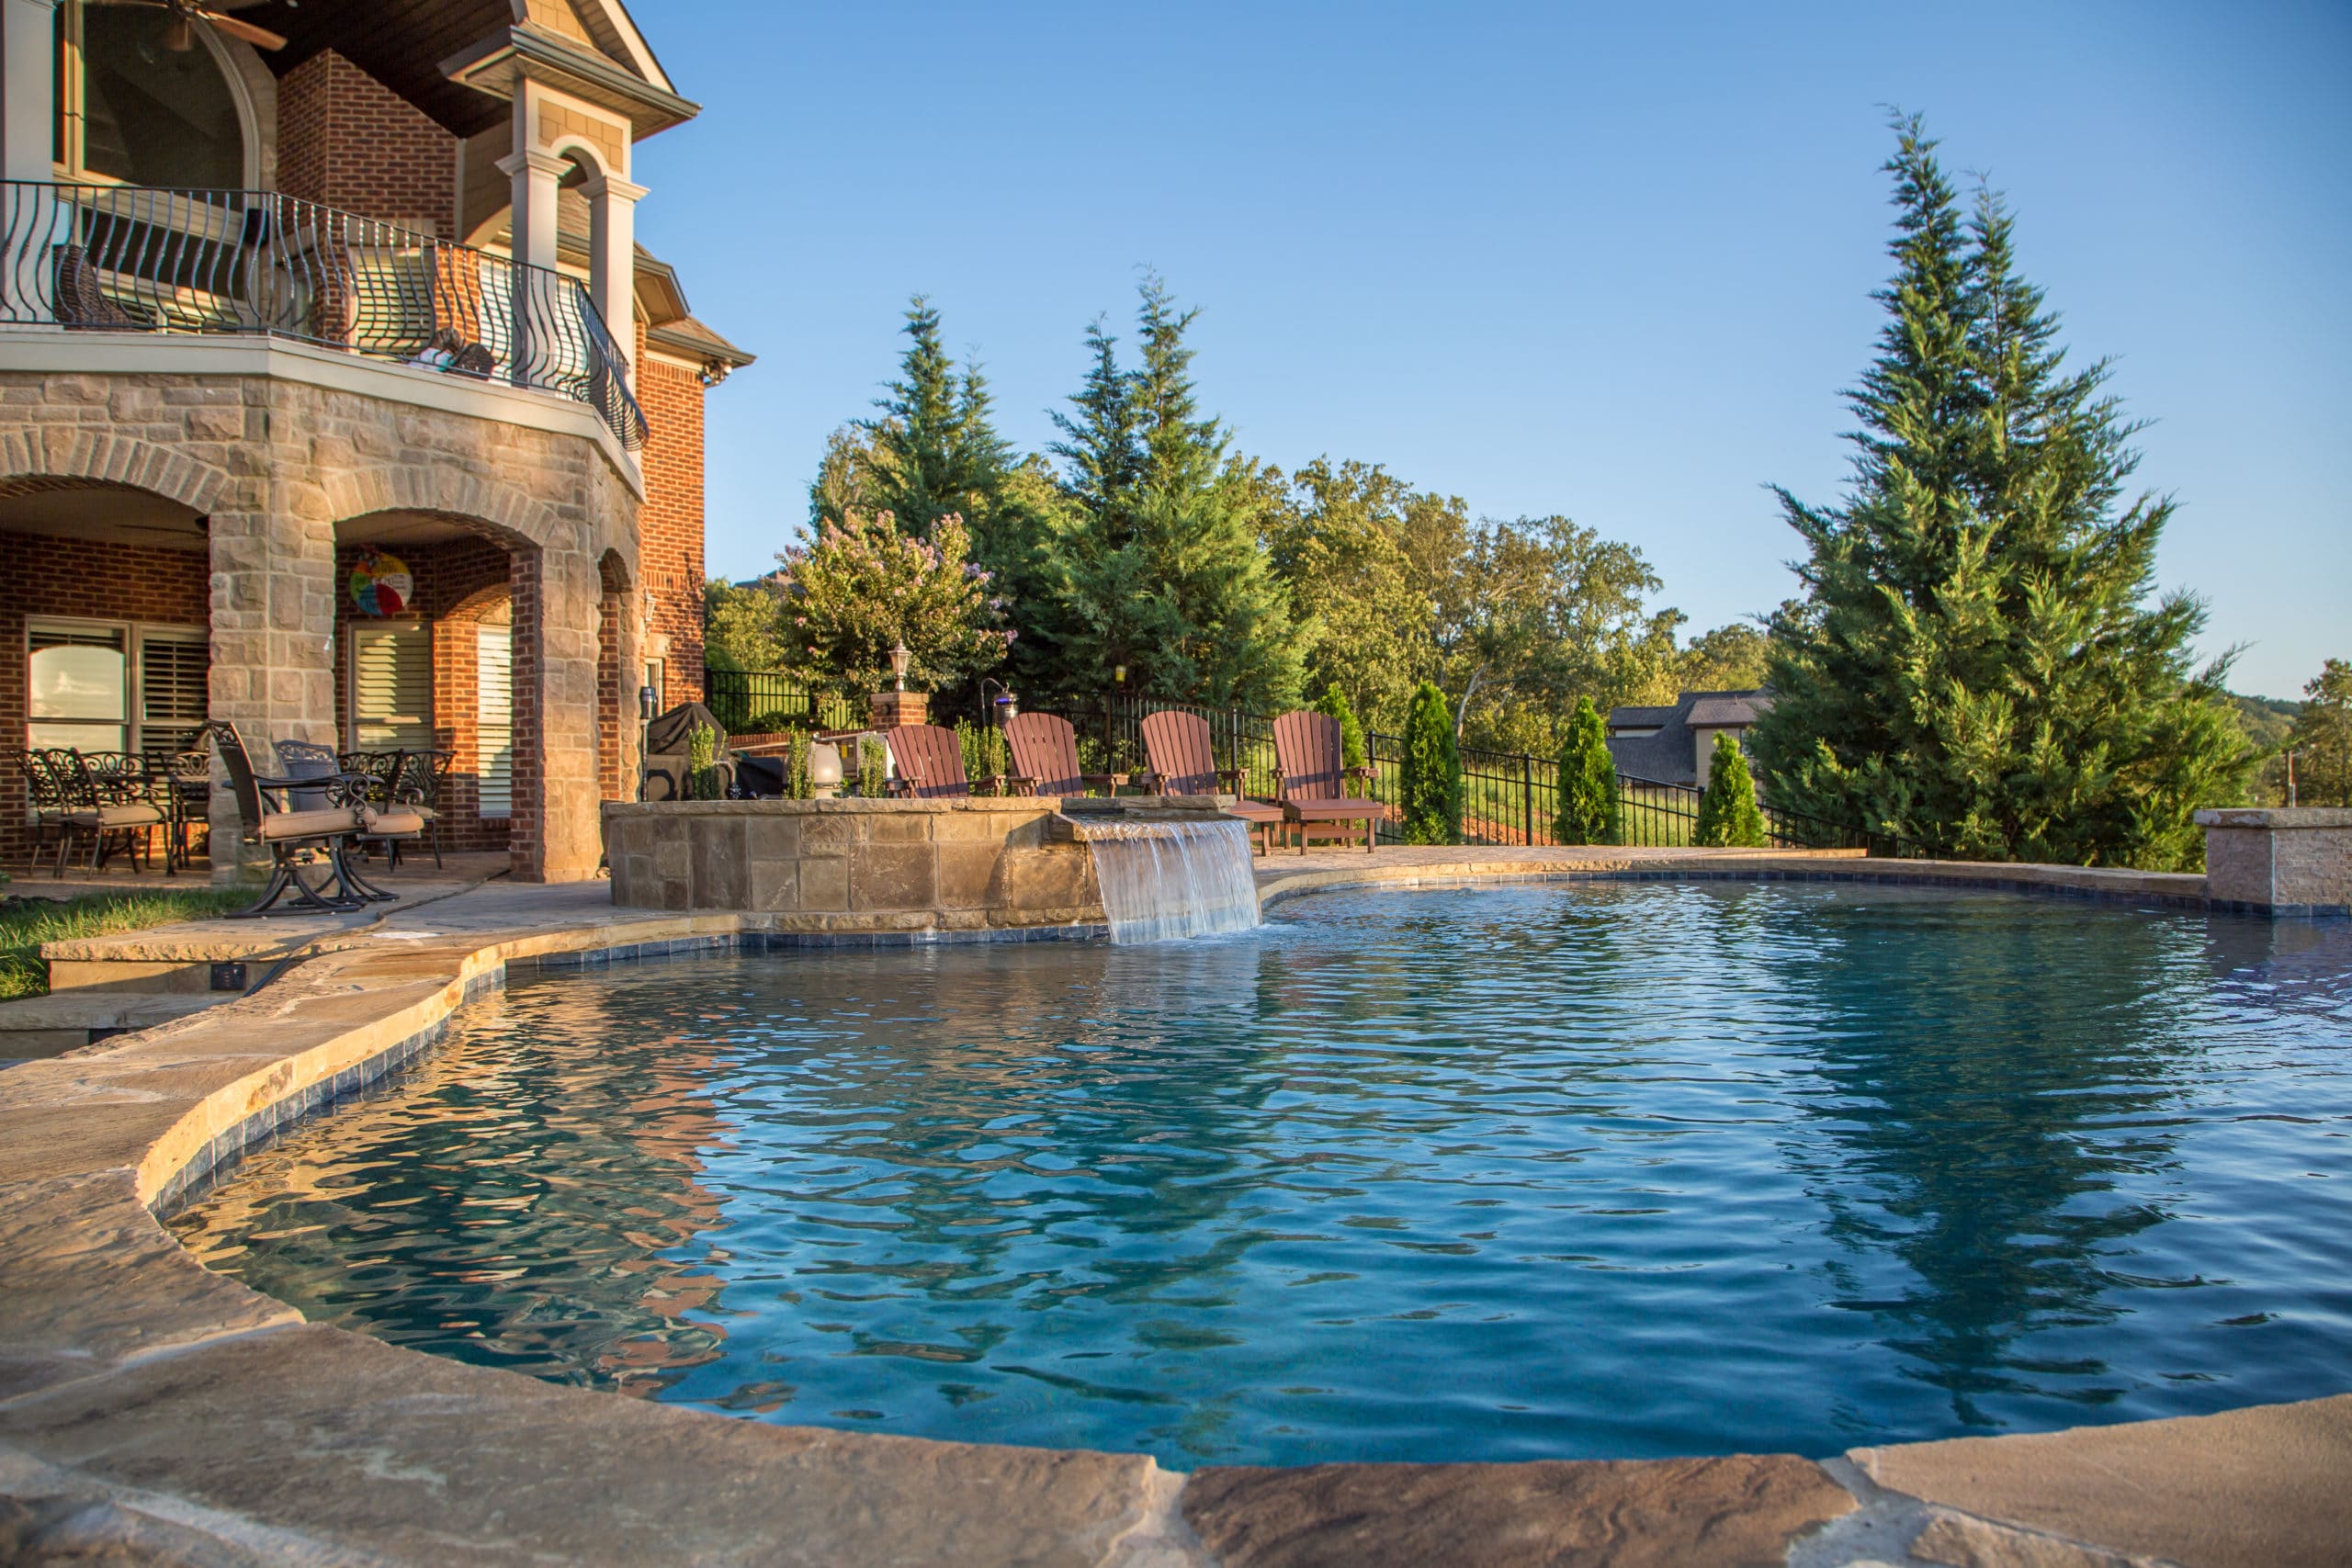
When it comes to choosing a pool builder in the Phoenix, Arizona area, there is no better choice than Premier Pools & Spas. As a company, we have been designing and building custom pools and spas for over 30+ years, and our experience shows in every detail of our work.
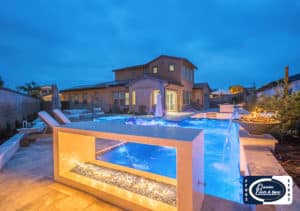
Whether you are looking for a simple pool to cool off in during the summer or a luxurious custom pool with all the bells and whistles, we can create it for you.
Top Inground Pool Builders In Phoenix, AZ
If you are ready to take the plunge and add a pool or spa to your home, give us a call. We would be happy to meet with you and discuss your options. We know that you will be impressed with our workmanship and dedication to customer satisfaction.
Give us a call to get your free estimate and design consultation. We’d love to hear from you!
Gunite Pool Building
We specialize in custom gunite swimming pool construction and design in the greater Phoenix area. While we are proud of our national recognition, we are even more proud of the relationships we’ve built with our local customers here in Phoenix. Our goal is to make every customer a lifetime customer, and we do that by providing the best possible experience from start to finish.
We begin every project with a free consultation so that we can get to know you, your family, and your vision for your backyard oasis. We then work with you to create a custom gunite pool design that fits both your needs and your budget. Once the design is finalized, our team of skilled craftsmen will build your pool with the utmost care and attention to detail.
Throughout the process, we will keep you updated on our progress and involve you in every step so that you can be confident that your new pool will be everything you’ve dreamed of. And once it’s complete, we’ll be there to help you maintain it so that it will bring you years of enjoyment.
If you’re ready to take the plunge and add a gunite pool to your Phoenix home, contact Premier Pools & Spas today. We look forward to hearing from you!
Fiberglass Pool Installation
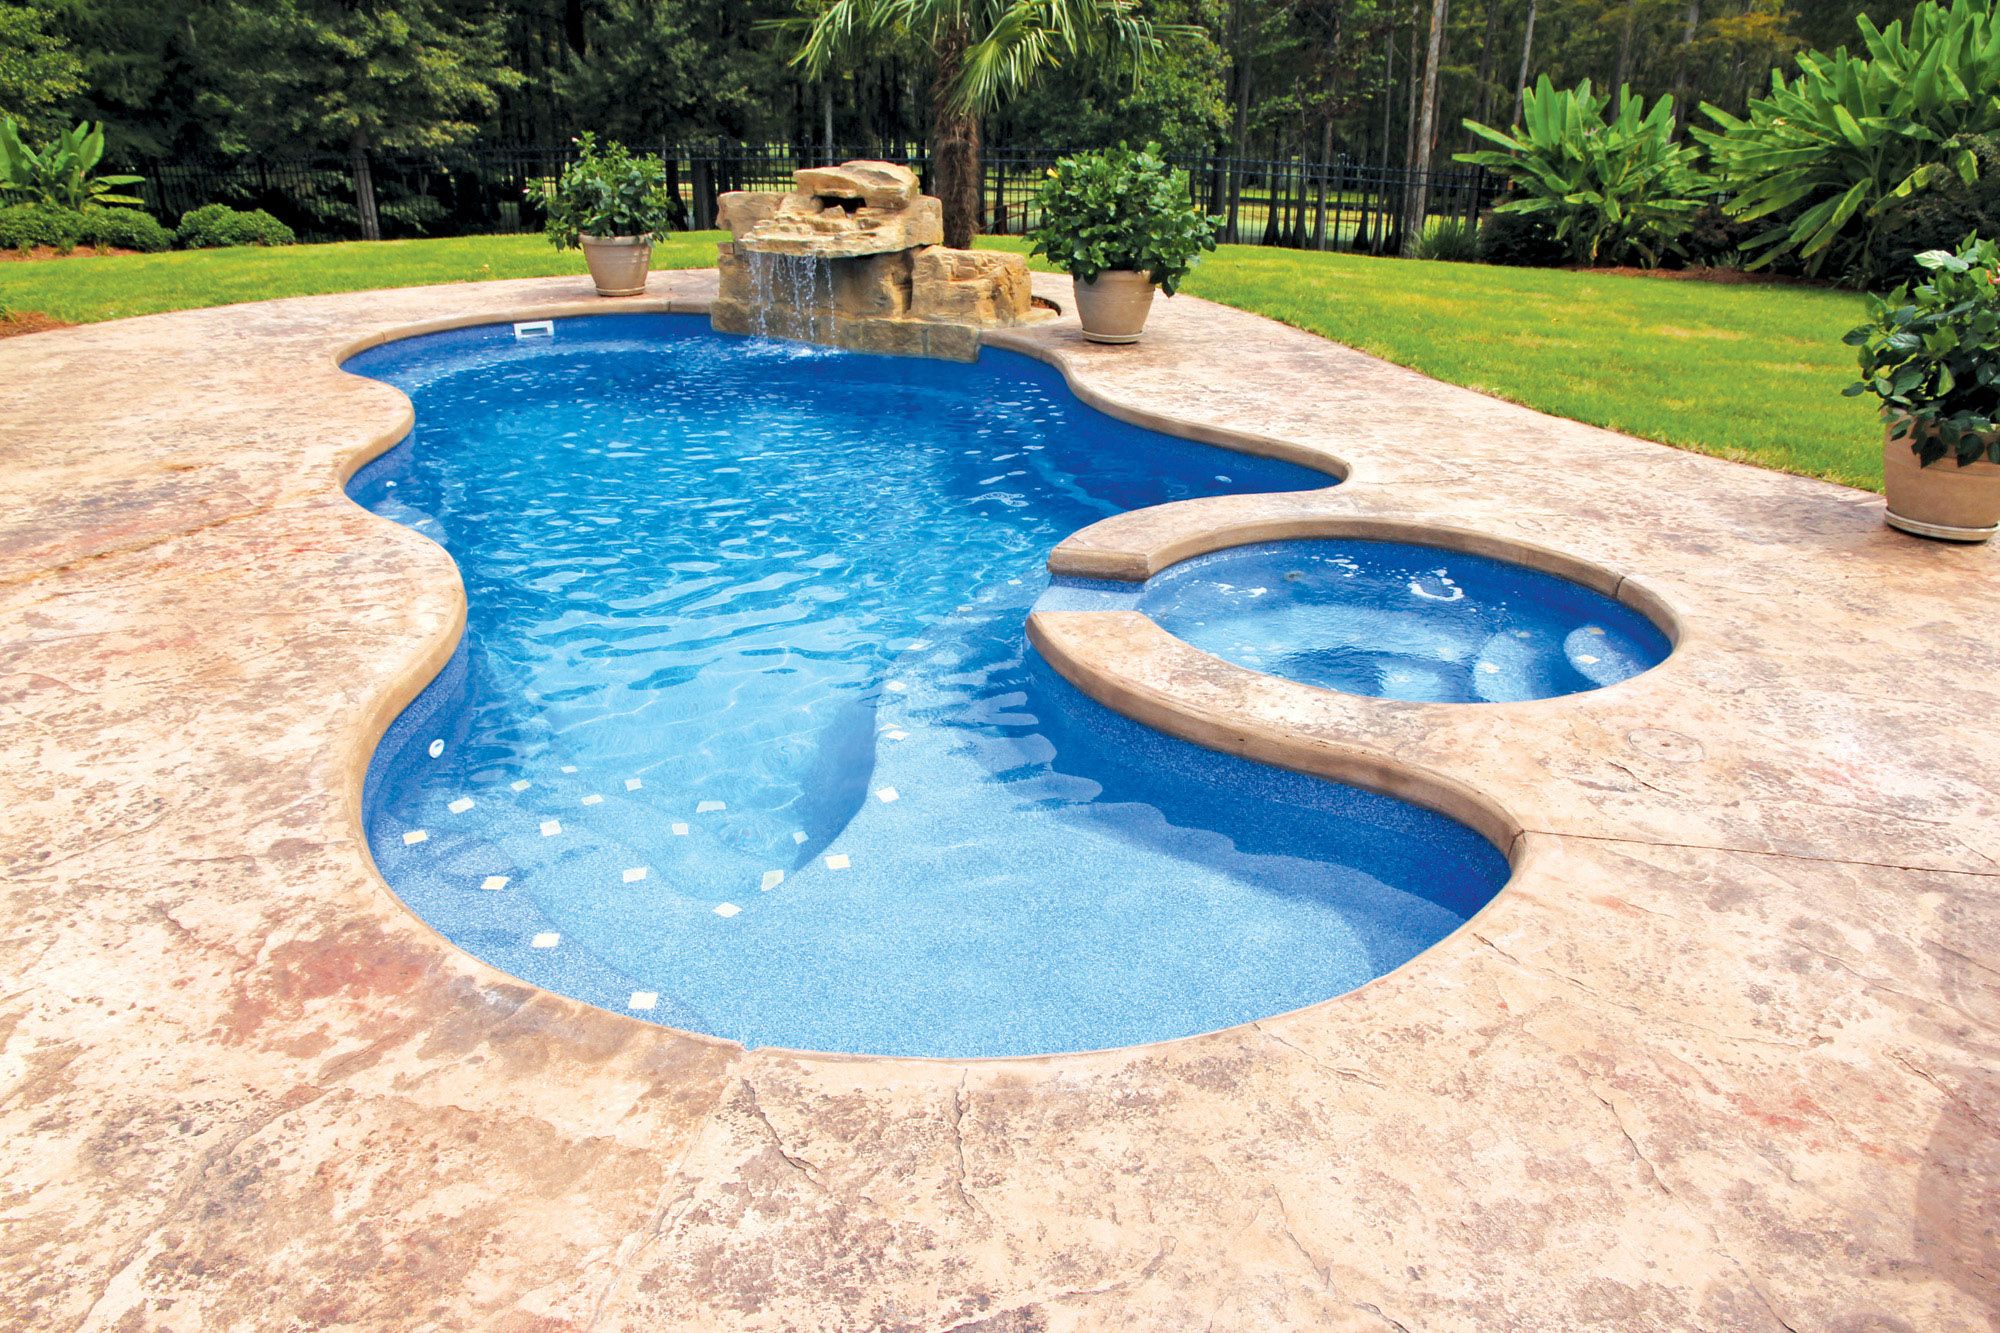
Premier Pools & Spas stands as the top fiberglass pool builder in Phoenix, renowned for our unparalleled commitment to excellence and innovative pool construction. Boasting a team of highly skilled builders, we transform backyard dreams into stunning, bespoke realities, consistently exceeding industry standards in durability and functionality. Our dedication to staying at the forefront of design trends and technology ensures that clients receive cutting-edge, personalized fiberglass pools that seamlessly integrate with their property.
With meticulous attention to detail, transparent communication, and timely project completion, Premier Pools & Spas consistently delivers exceptional customer satisfaction. Their sustainability initiatives, incorporating eco-friendly practices and energy-efficient technologies, further distinguish them as the go-to choice for those seeking the pinnacle of luxury and quality in Phoenix’s fiberglass pool construction.
If you are looking for a fiberglass pool builder in Phoenix that can provide you with the highest quality products and services available, then look no further than Premier Pools & Spas. Contact us today to learn more about our fiberglass pools and how we can help you create your perfect backyard.
The Premier Experience
Premier pool builders are hardworking, innovative, and detail-oriented. Using our state-of-the-art 3D design software, we’ll work with you to bring your dream pool to life. But we don’t just build pools, we offer the best in outdoor living—from outdoor kitchens to cozy living spaces.
Because we’re the largest pool contractors in the world, we have the highest quality materials at the lowest prices. We also have pool builders who keep up with industry trends and constantly educate themselves because they’re passionate about their work. With those elements combined, the value we offer is unparalleled.
Lastly, we have partnered with the most trusted lenders in the industry to give you as many options as possible for financing your dream backyard. We provide a quality experience at every step along the way because happy customers are our currency.
Premier Pools & Spas
Founded in 1988, Premier Pools & Spas has worked hard over the last 30+ years to become the largest pool builder in the world. In that time, we have built over 75,000 pools by combining the buying power of a nationwide company with the customer service you only get from a family-owned business, which is why the DIY Network chose Premier to host their show, Pool Kings.
Buying a pool is a big decision for your family. That’s why Premier professionals emphasize clarity of communication throughout the process to ensure your peace of mind. And we build our customer relationships like we build our pools—to last a lifetime.
We’re ready to turn your backyard into your own slice of paradise. We’re here for you whenever you’re prepared to make your dream a reality.
You deserve the best. That’s us.
Phoenix, AZ
Phoenix Inground Pool Builders
We build custom inground gunite & fiberglass pools in Phoenix, Mesa, Chandler, Glendale, Scottsdale, Surprise, Mammoth, Goodyear, Fountain HIlls, and the greater Phoenix metro area.
Our team is ready to create a show-stopping backyard centerpiece that will give you and your family memories to last a lifetime.
When you are ready to take the plunge, we will be here.


