The World's Largest Pool Builder
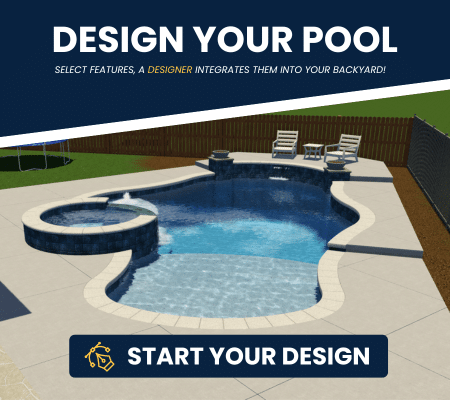
Build Your Dream Inground Pool!
Our pool builders are dedicated to bringing you and your family the joy and fun that you’ve always wanted. With over 115 locations and growing, it’s easy to find a local Premier Pools & Spas. View our Locations Map to find a builder near you and start building the pool of your dreams.
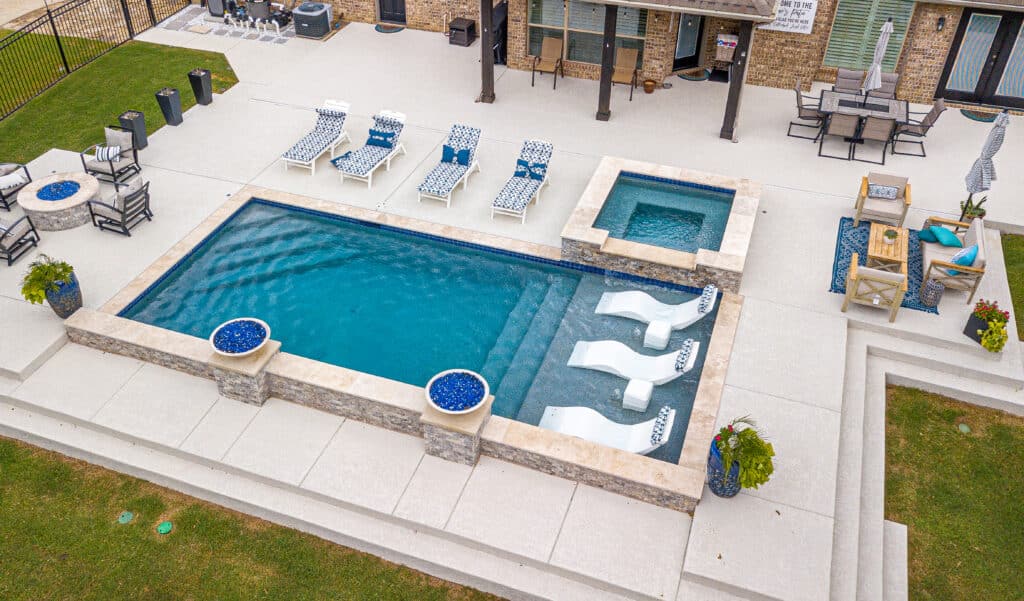
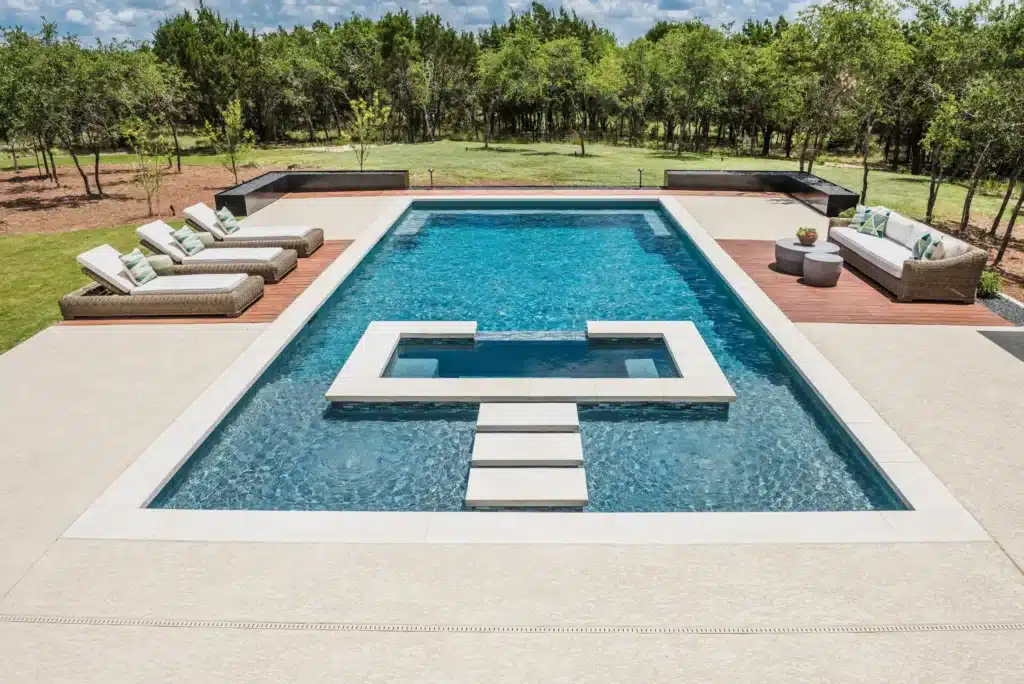
Gunite Pools
Gunite pools are highly durable and long-lasting. This material is perceived to be of the highest quality and can be remodeled multiple times in a pool’s lifetime.
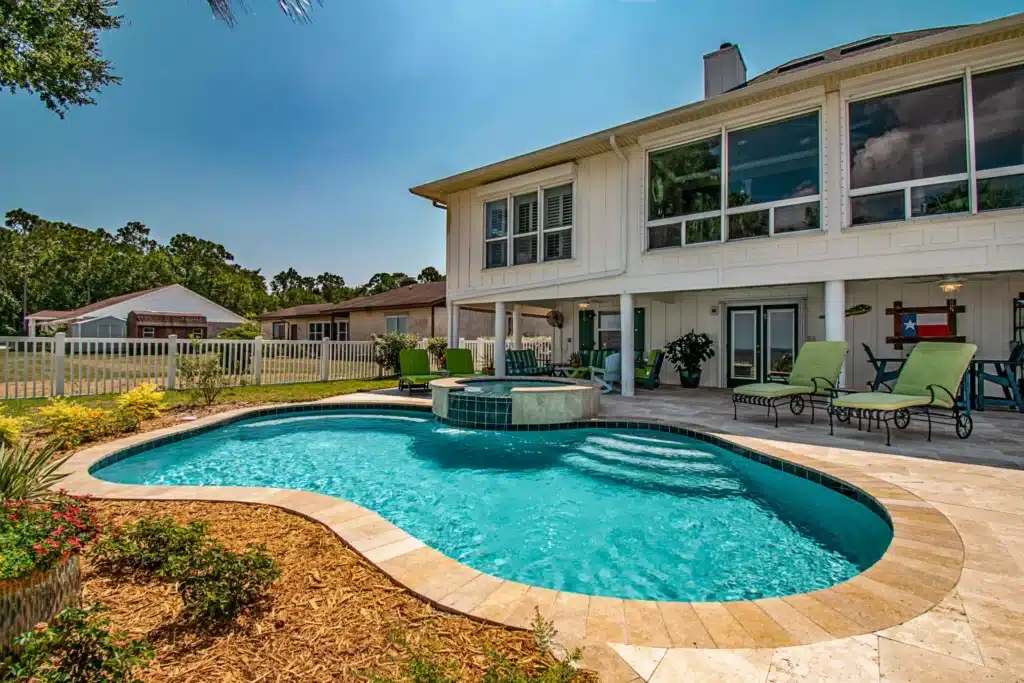
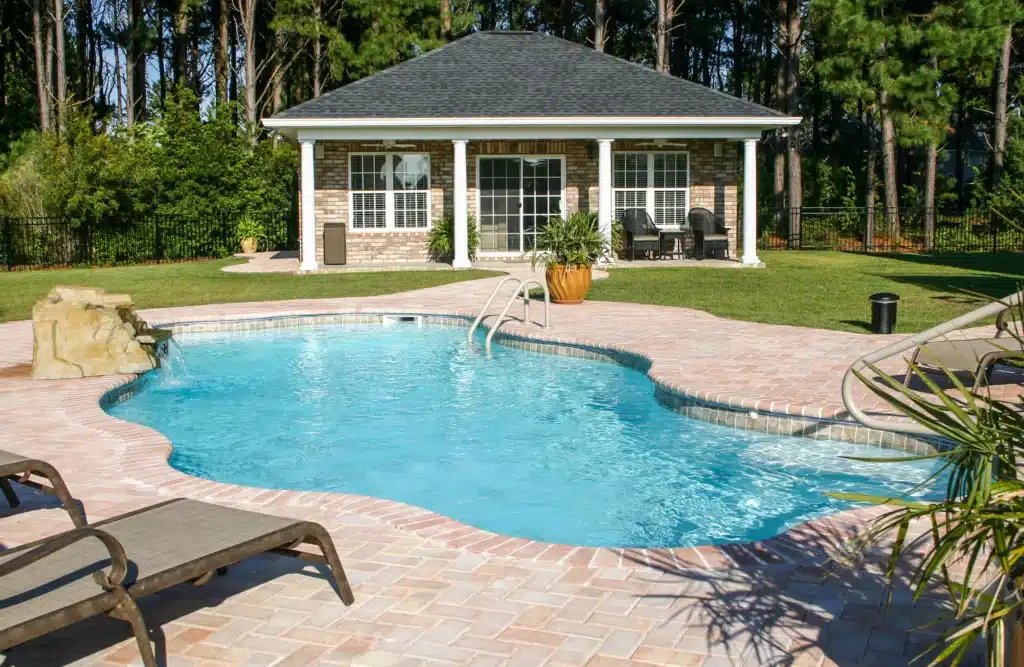
Fiberglass Pools
Regardless of the size and shape of your backyard, you can choose beautiful pool designs and themes. Whether it is soft curves or a modern silhouette with sharp angles.
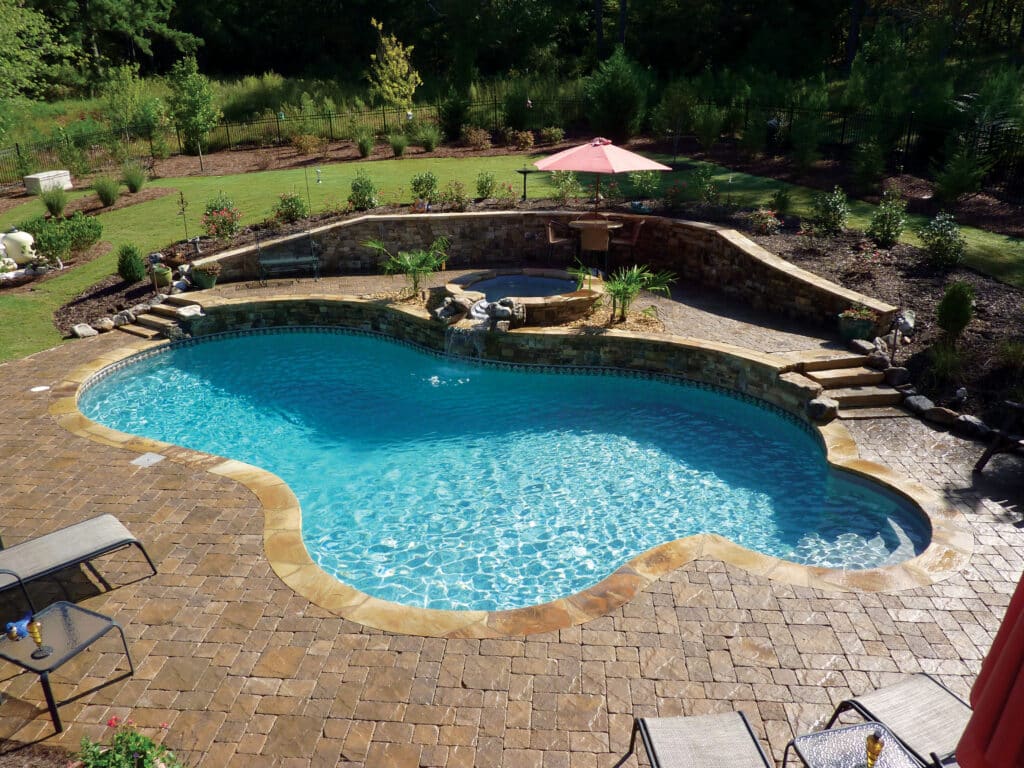
Vinyl Pools
Vinyl pools are budget-friendly, and building a vinyl pool takes 4-8 weeks on average. While a vast majority of these pools are rectangular, you have unlimited options in designs, shapes, and sizes.
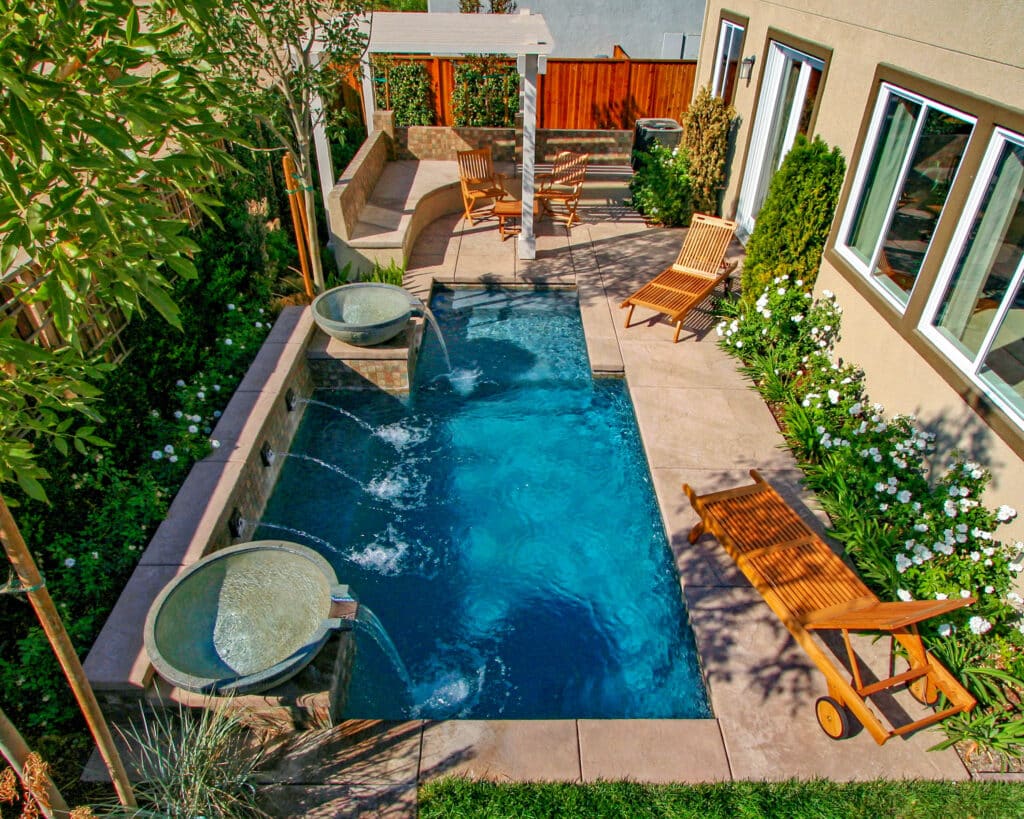
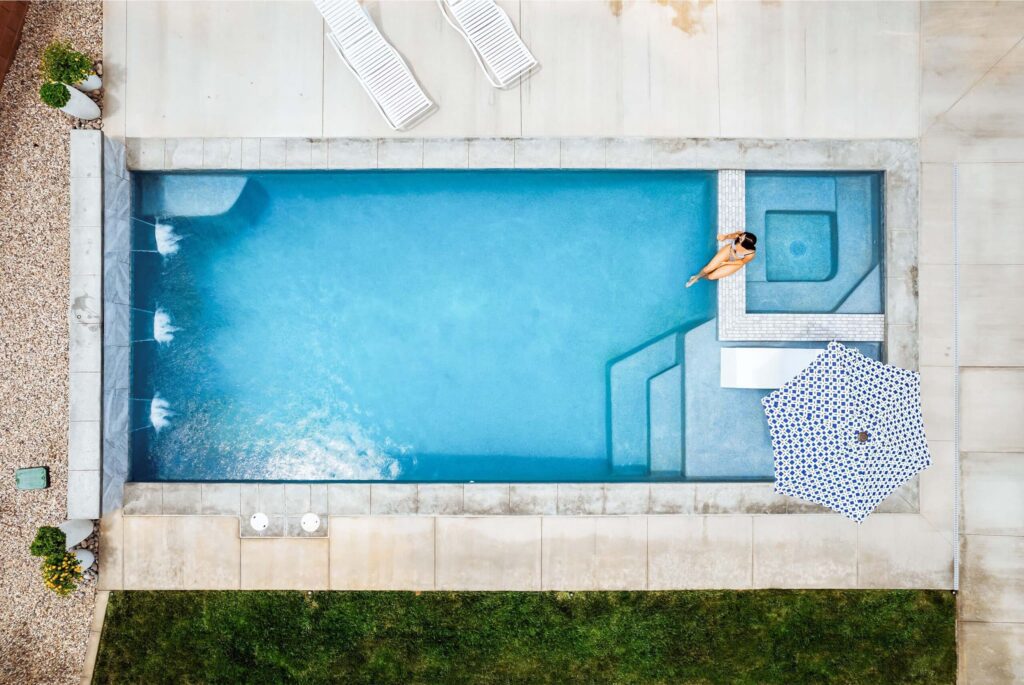
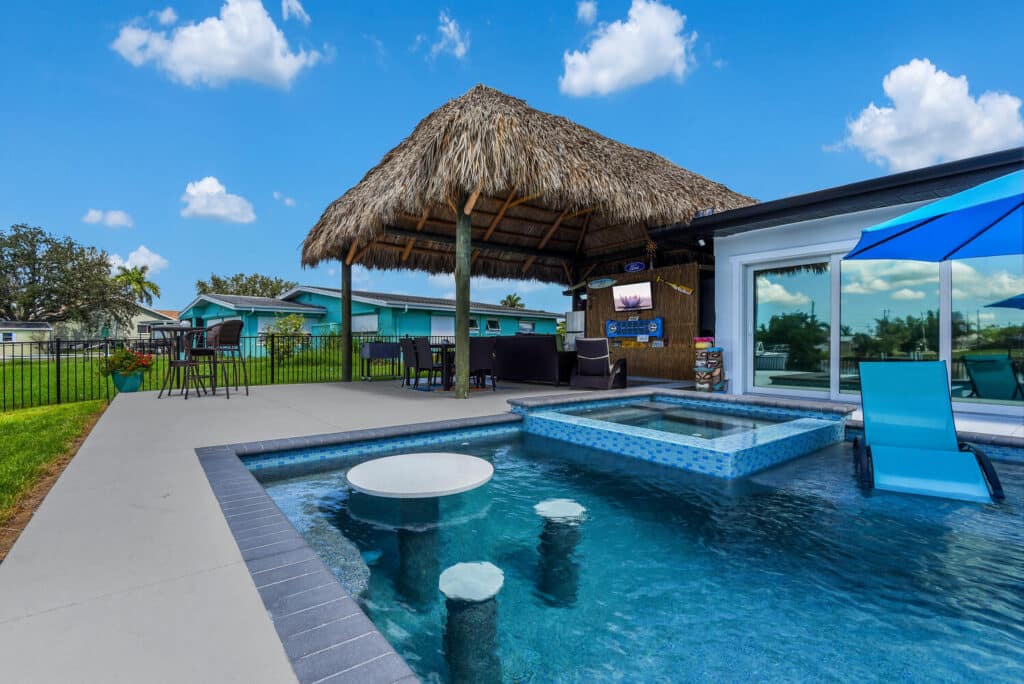
Small Pools
A small pool, otherwise known as a “spool,” is a pool that is smaller than a typical pool but flexible enough to enjoy similarly and year-round. Your yard size shouldn’t get in the way of owning a pool!
Turning Dreams To Reality
Premier pool professionals will be by your side every step of the way — from design to construction to maintenance — so you can rest easy knowing you made the right choice.
A Pool Within Your Budget
Our commitment to providing value doesn’t mean compromising on quality. With our attention to detail and expert craftsmanship, we bring you a range of pool options.
Timely & Efficient Building
From the design phase to the final installation, we prioritize clear communication, keeping you informed every step of the way. We strive to exceed your expectations.
Ongoing Communication
We understand that embarking on a construction project can be overwhelming, which is why we’re committed to guiding you through every step of the process with ease.
Inground Pool Features
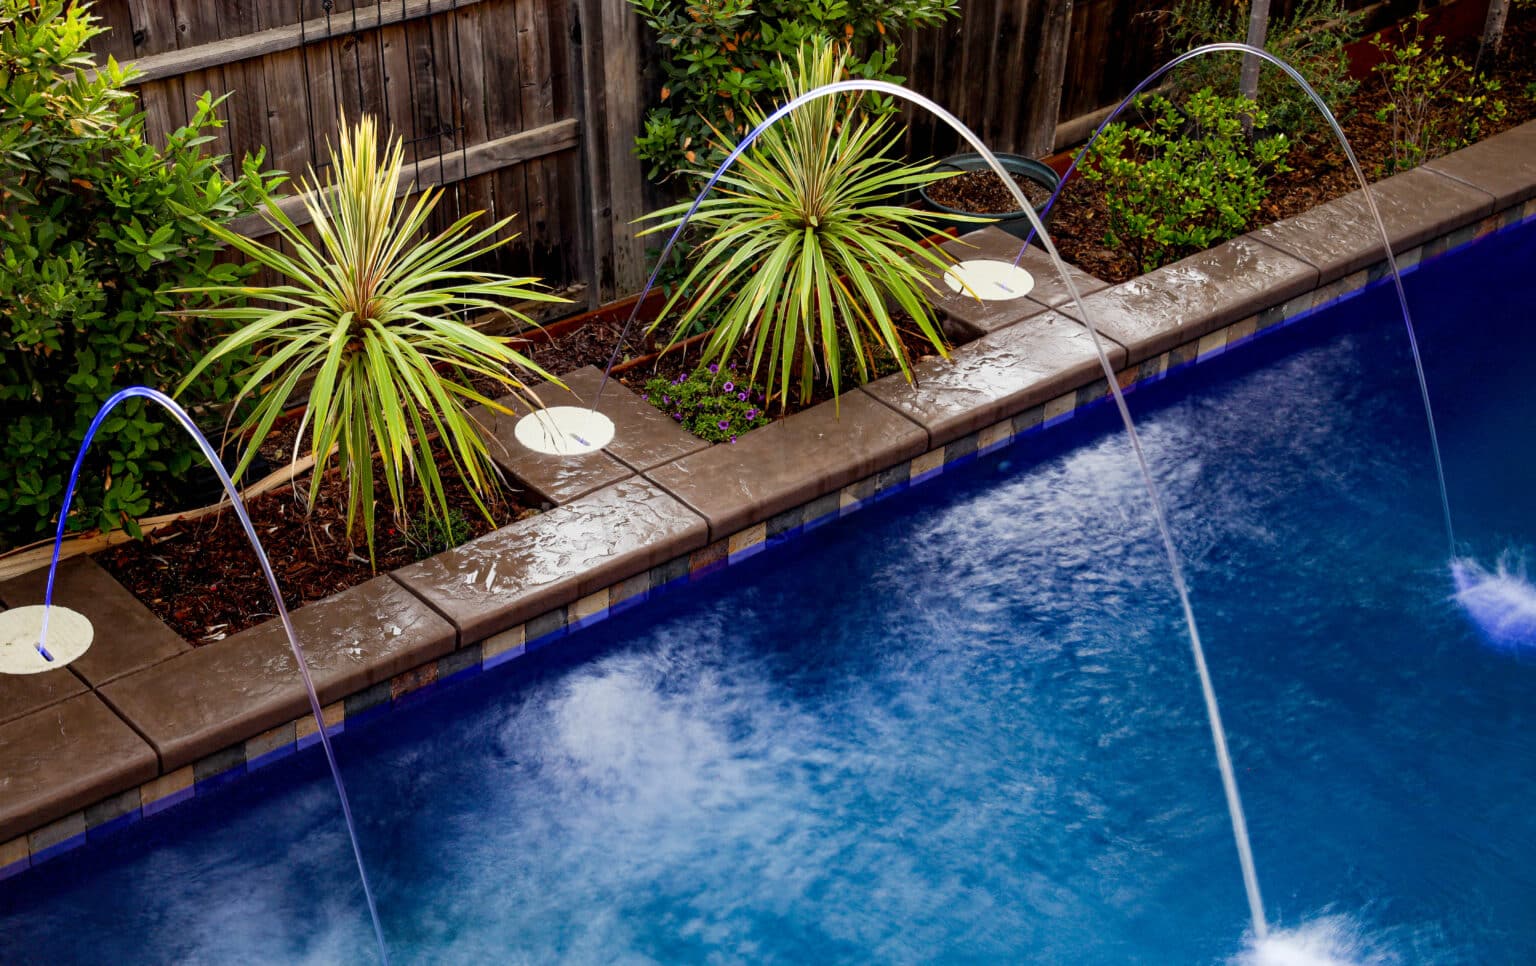
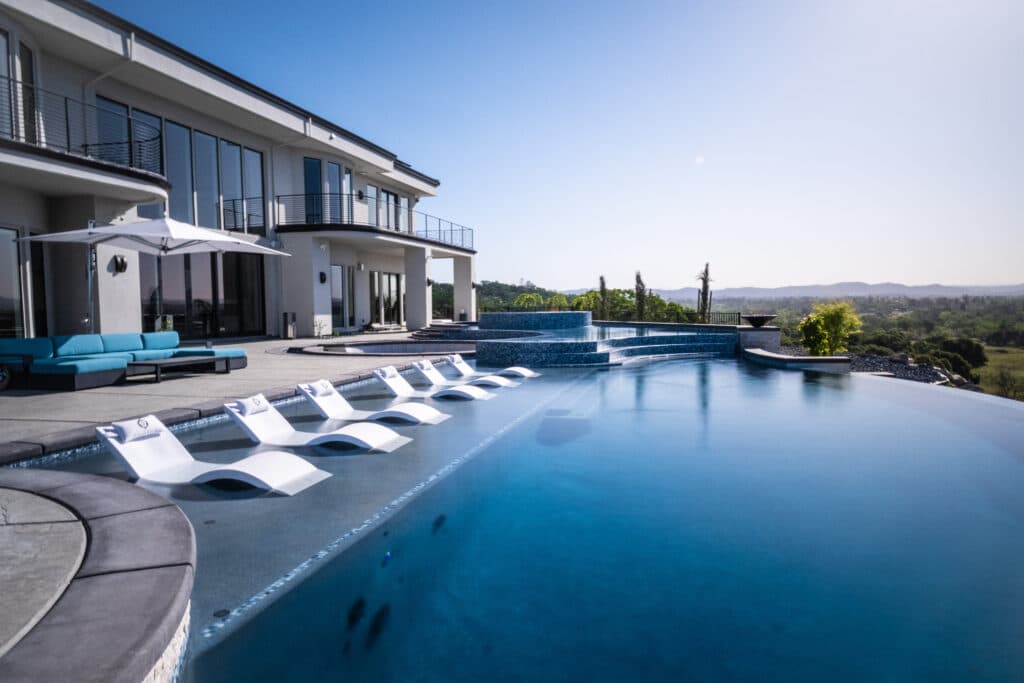
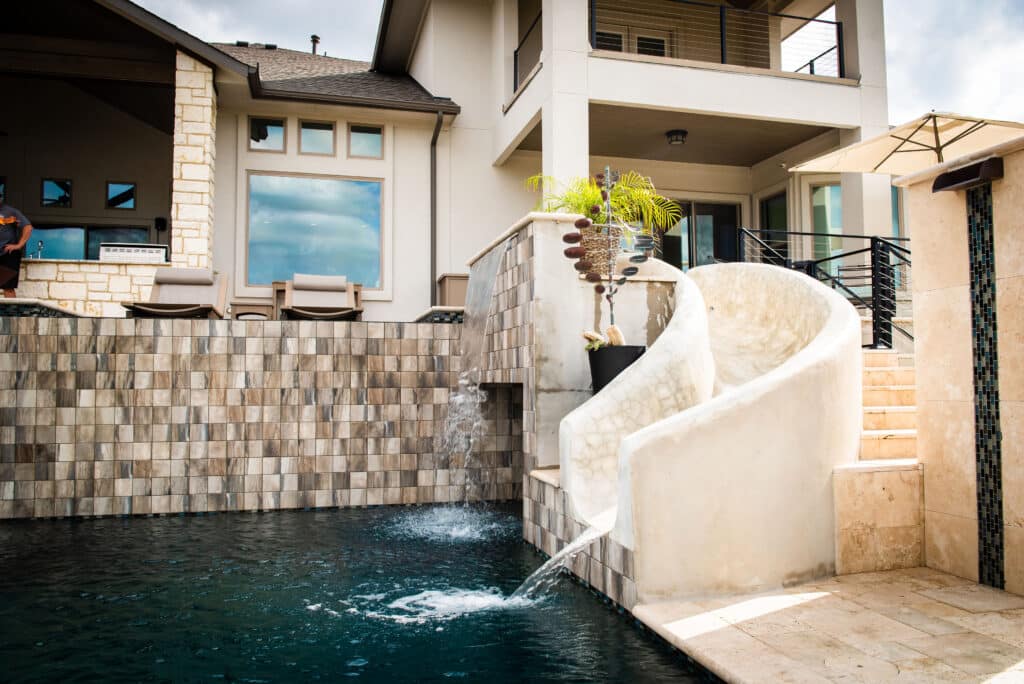
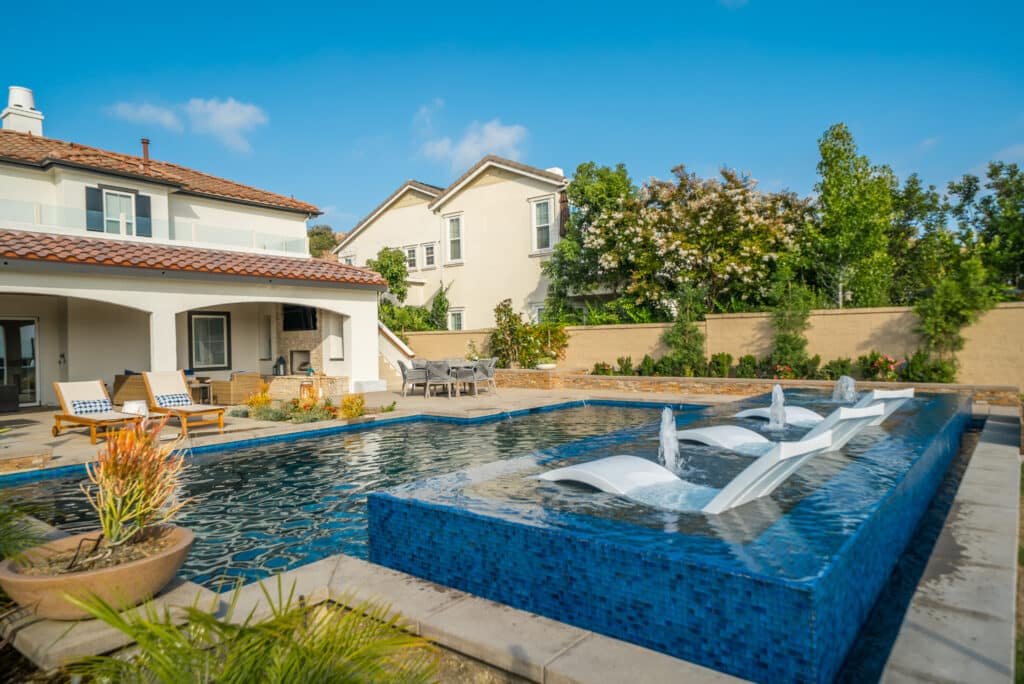
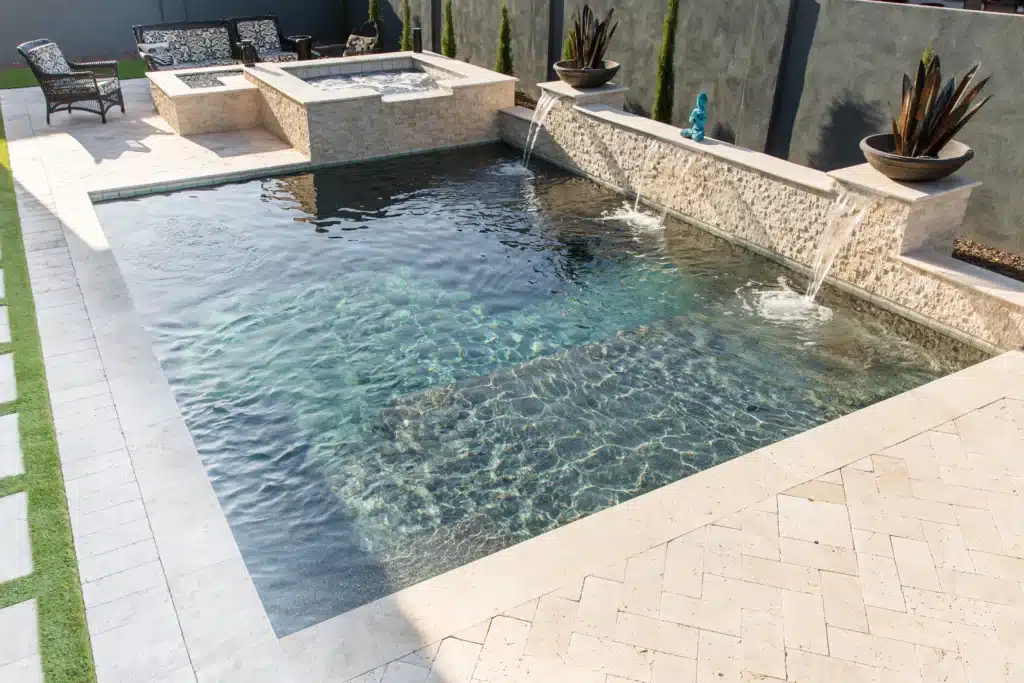
Water Features
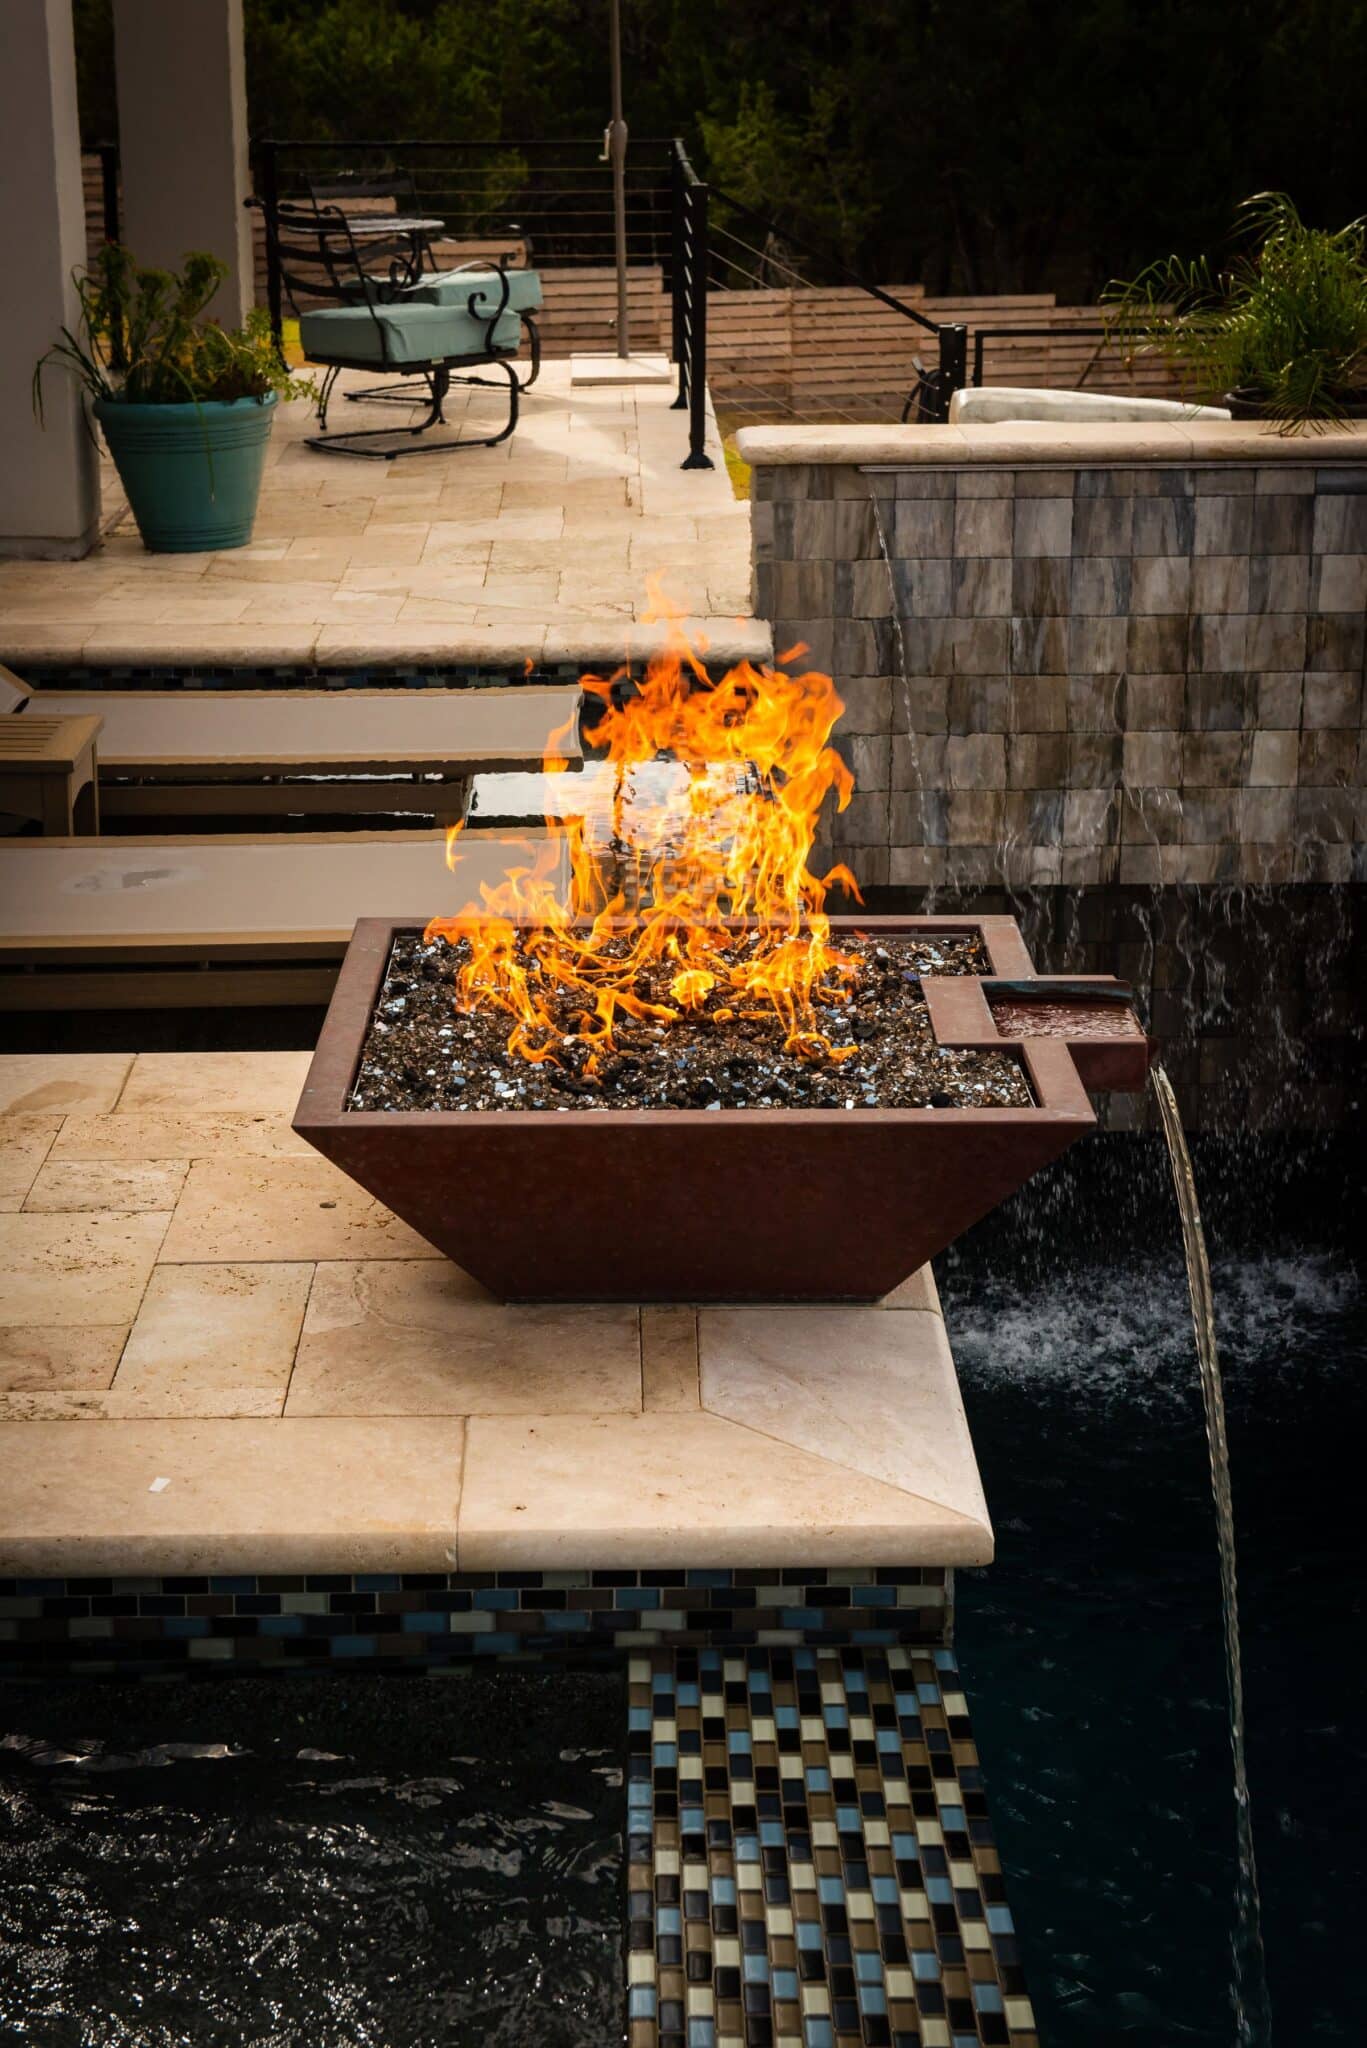
Fire Features
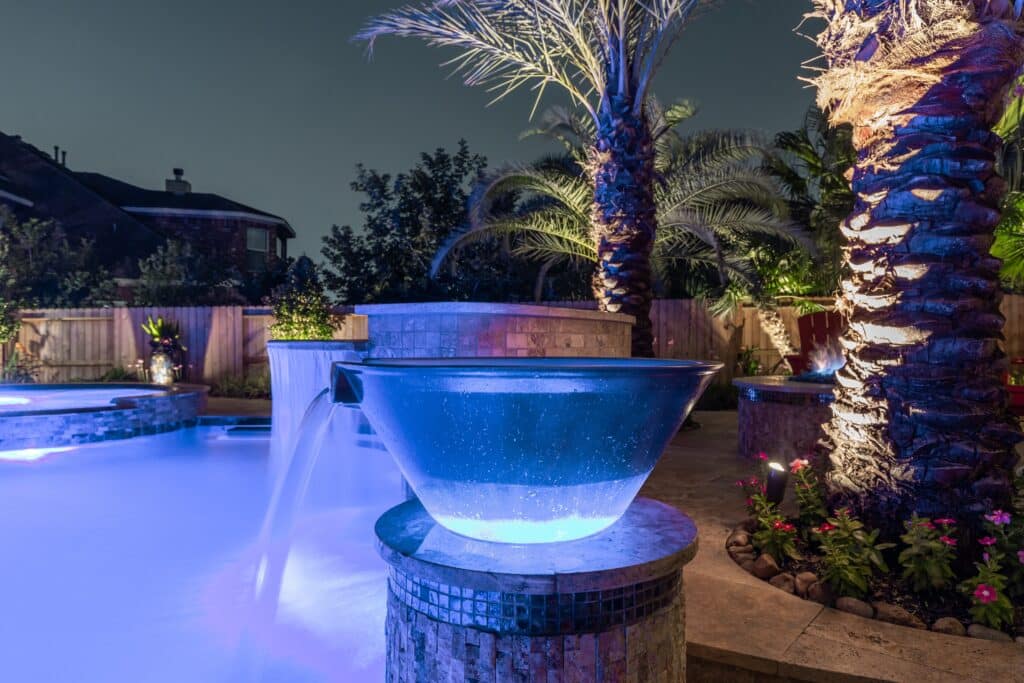
Lighting Features
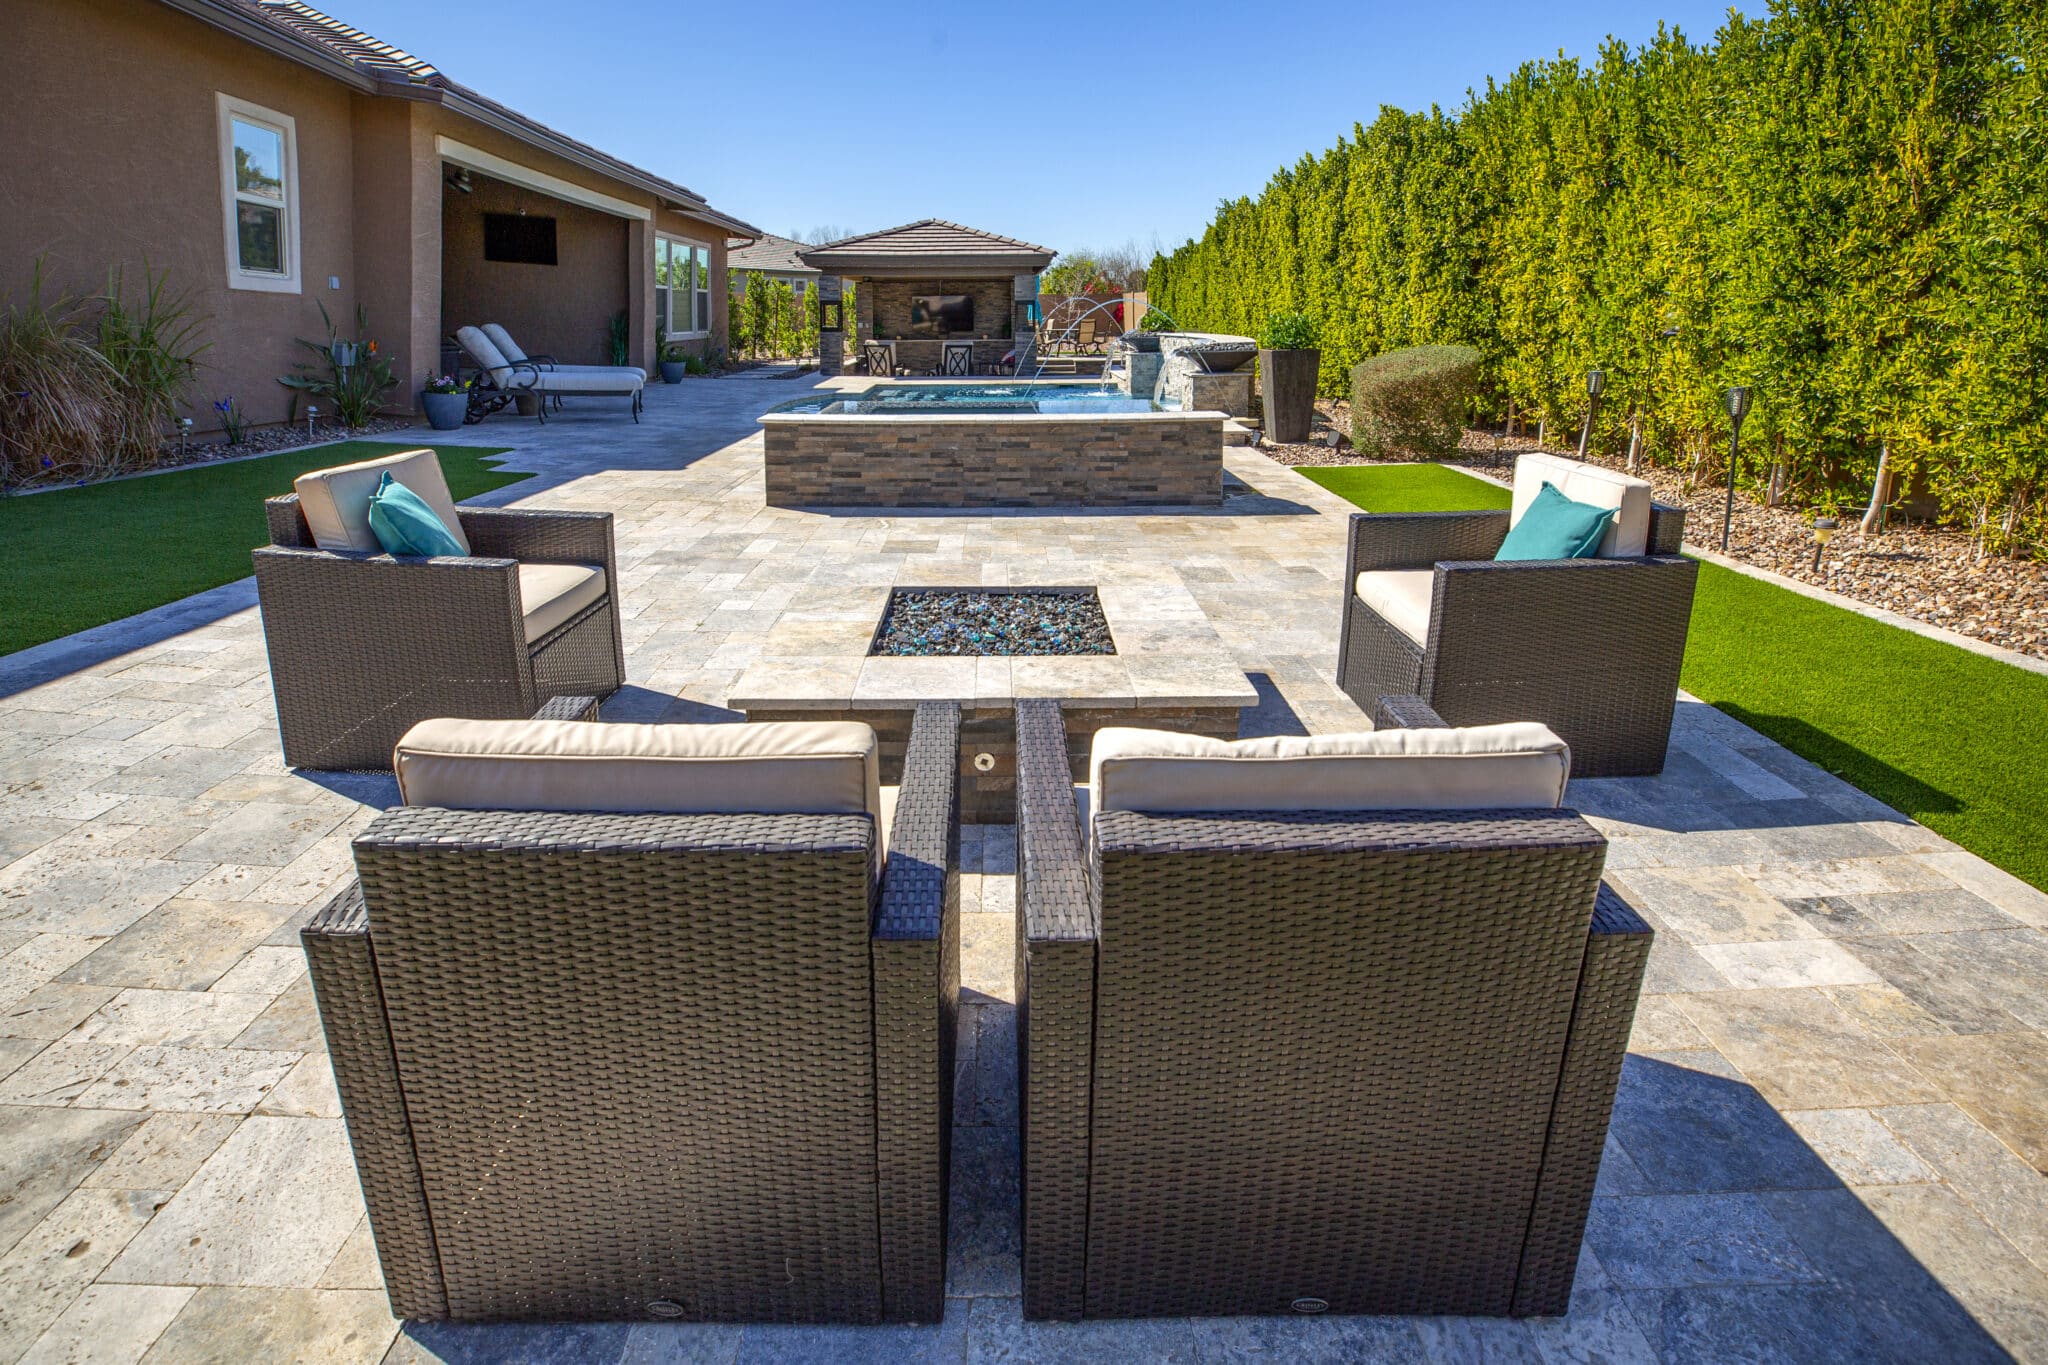
Outdoor Living
A Pool Builder You Can Trust
With over 115 locations nationwide, we’re your go-to for expert pool services. We offer flexible financing options to fit your budget and a learning center to support you every step of the way. Experience the convenience and expertise of Premier Pools & Spas for your dream pool project today!
Over the last 30 years, we have built more than 100,000 pools by combining the buying power of a nationwide company with service you expect from a family-owned business.

What Our Clients Say
With over 100 locations nationwide, we’re your go-to for expert pool services. We offer flexible financing options to fit your budget and a comprehensive Learning Center to support you every step of the way. Experience the convenience and expertise of Premier Pools & Spas for your dream pool project today!
We were really pleased with how quickly it was done! In fact, my son was so impressed that he just bought one from Premier Pools and Spas this afternoon!
Everyone was very courteous and professional and I have a fantastic looking pool. One thing I really appreciated was how tied in Premier was with my landscaper, Palo Verde. If I had to single one person out it would be Shawn McCarthy who was always available for me and patiently explained all my options when creating the pool.
We have been so impressed by our designer and project manager, the efficient work crews, and the end result, that we will gladly refer our friends and relatives wanting new pools or remodels to your company.
Request A Free Quote!
Want to talk to us about your new pool, remodel, or other projects? Please fill out the form below and we'll be in touch as soon as possible.